Installing wood veneer might seem intimidating at first, but with the right preparation and techniques, you can achieve professional-looking results that transform your cabinets, furniture, or walls. Whether you're a DIY enthusiast tackling your first veneer project or a contractor looking to expand your skills, this comprehensive guide will walk you through every step of the installation process.
In this guide, you'll learn how to properly prepare surfaces, choose the right adhesive, apply veneer without bubbles or wrinkles, and finish your project like a pro. We'll cover installation methods for different types of wood veneer backing, from raw veneer to convenient peel-and-stick options.
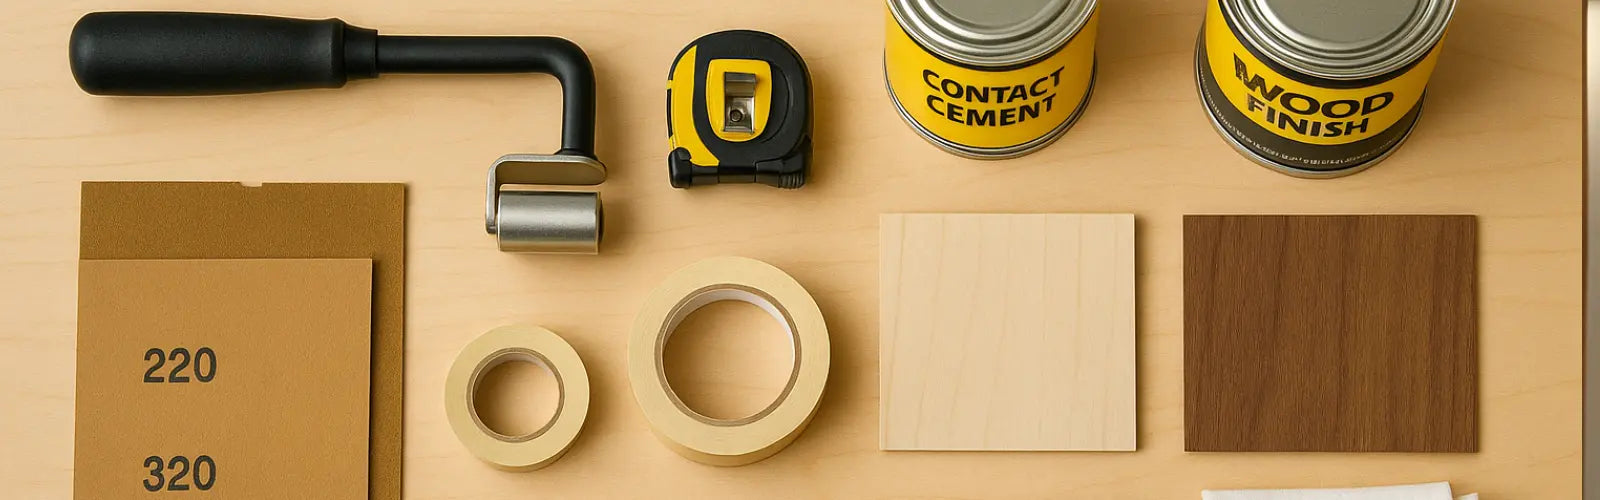
What You'll Need: Tools and Materials
Before starting your wood veneer installation, gather these essential tools and materials. Having everything ready will ensure a smooth installation process and professional results.
Essential Tools
- Veneer saw or sharp utility knife - For precise cutting
- Steel straightedge (48" recommended) - For guiding cuts
- J-roller or veneer roller - Critical for removing air bubbles
- Measuring tape - For accurate measurements
- Pencil - For marking cut lines
- Sandpaper (220-320 grit) - For surface prep and finishing
- Clean rags - For cleaning and applying finishes
- Masking tape - For holding veneer in place
Optional but Helpful Tools
- Veneer scraper - For smoothing surfaces
- Iron (for certain repairs) - To fix bubbles or loose edges
- Vacuum press or veneer press - For large projects
- Spray bottle - For applying water-based adhesives
- Heat gun - For working with iron-on veneer
Materials Needed
- Wood veneer sheets (10-15% extra for waste)
- Appropriate adhesive (contact cement, PVA glue, or PSA backing)
- Wood finish (polyurethane, lacquer, or oil)
- Denatured alcohol or mineral spirits (for cleaning)
- Substrate material (if not veneering existing surface)
Pre-Installation Preparation
Proper preparation is crucial for successful veneer installation. Skipping these steps often leads to bubbling, poor adhesion, or visible imperfections.
1. Acclimate Your Veneer
Wood veneer needs to adjust to your environment before installation:
- Remove veneer from packaging 48-72 hours before installation
- Store flat between boards to prevent curling
- Keep in the installation room to match temperature and humidity
- Ideal conditions: 65-75°F with 35-55% relative humidity
2. Prepare the Substrate Surface

Your substrate must be perfectly smooth, clean, and stable:
For New Substrates:
- Choose stable materials (MDF, plywood, or particle board)
- Sand surfaces with 120-grit, then 220-grit sandpaper
- Remove all dust with vacuum and tack cloth
- Fill any voids with wood filler and sand smooth
For Existing Surfaces:
- Remove old finishes, paint, or wallpaper completely
- Fill holes, dents, or scratches with wood filler
- Sand entire surface smooth and even
- Clean thoroughly with appropriate solvent
3. Plan Your Layout
Before cutting or applying adhesive:
- Measure twice, cut once - Account for pattern matching if needed
- Dry fit your veneer - Check grain direction and appearance
- Mark orientation - Use light pencil marks on the back
- Plan for waste - Always cut slightly oversized (1/2" on all sides)
Choosing the Right Adhesive
Selecting the proper adhesive is critical for long-lasting results. Different veneer backing types require different adhesives.
Contact Cement
Best for: Paper-backed veneer, large flat surfaces
- Pros: Instant bond, no clamping required
- Cons: No repositioning possible, strong fumes
- Application: Apply to both surfaces, let tack up (15-30 minutes)
- Coverage: 250-300 sq ft per gallon
PVA (Wood) Glue
Best for: Raw veneer, small projects
- Pros: Easy cleanup, allows repositioning, no fumes
- Cons: Requires clamping, longer drying time
- Application: Spread thin, even coat on substrate only
- Open time: 10-15 minutes
Pressure Sensitive Adhesive (PSA)
Best for: DIY projects, curved surfaces
- Pros: Pre-applied, no mess, easy installation
- Cons: More expensive, limited repositioning
- Application: Simply peel and stick
- Note: Available on FlexVen™ and other peel-and-stick veneer sheets
Hide Glue
Best for: Antique restoration, traditional work
- Pros: Reversible, authentic for period pieces
- Cons: Requires heating, shorter working time
- Application: Heat to 140°F, apply with brush
Installation Methods by Veneer Type
Different veneer types require specific installation approaches. Here's how to handle each:
Raw Veneer Installation
Raw veneer is the most challenging but offers maximum flexibility:
- Choose PVA glue or hide glue for best results
- Work quickly - raw veneer is fragile when wet
- Use veneer tape to join seams before gluing
- Apply even pressure with veneer press or cauls
- Allow 24 hours drying time before trimming
Paper-Backed Veneer Installation
Paper backing makes installation much easier:
- Contact cement works best for instant adhesion
- Position carefully - you get one chance
- Start from center and work outward
- Use J-roller thoroughly to ensure complete contact
- Trim immediately while adhesive is fresh
PSA (Peel & Stick) Veneer Installation
The easiest option for DIY projects with our peel-and-stick wood veneer:
- Clean surface with alcohol for best adhesion
- Remove backing paper gradually as you apply
- Use slip sheet (wax paper) for positioning
- Apply firm pressure with J-roller
- Work slowly to avoid air bubbles
2-Ply Wood-on-Wood Installation
Offers the best stability for large panels:
- Can use various adhesives due to wood backing
- Less prone to telegraphing substrate imperfections
- Apply like solid wood panels with standard techniques
- Consider balanced construction (veneer both sides)
- Allow for slight movement in frame construction
Step-by-Step Installation Process
Follow this detailed process for professional results:
Step 1: Final Surface Check
- Ensure substrate is completely smooth and clean
- Temperature should be 65-75°F
- Humidity between 35-55%
- All materials at room temperature
Step 2: Cut Veneer to Size
- Measure substrate dimensions
- Add 1/2" to each dimension for trimming allowance
- Mark cutting lines on veneer back with straightedge
- Cut with veneer saw or sharp knife using multiple light passes
- Always cut with grain when possible
Step 3: Apply Adhesive

For Contact Cement:
- Apply thin, even coat to both surfaces
- Use brush, roller, or spray
- Allow to become tacky (15-30 minutes)
- Test with kraft paper - should not stick
For PVA Glue:
- Apply to substrate only
- Spread evenly with brush or roller
- Work quickly - 10-15 minute open time
- Coverage should be complete but not excessive
Step 4: Position Veneer
Contact Cement Method:
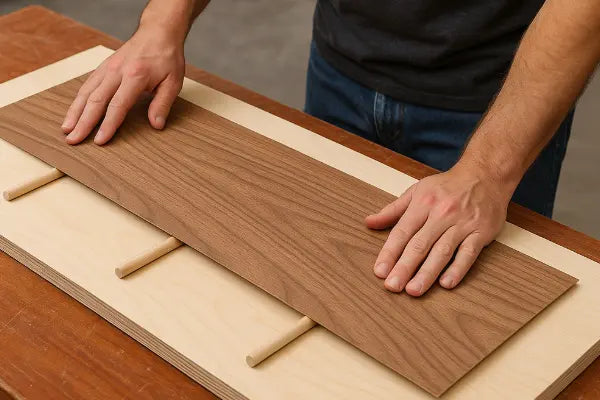
- Use slip sticks (dowels) to position without contact
- Align one edge perfectly
- Gradually remove sticks while pressing down
- Work from center outward
PVA Glue Method:
- Position veneer and align edges
- Can slide to adjust if needed
- Press center first, then work outward
- Remove excess glue immediately
Step 5: Press and Adhere
- Start pressing from center outward
- Use J-roller with firm, overlapping strokes
- Pay special attention to edges and corners
- For contact cement: Done when fully pressed
- For PVA: Apply clamps or press for 4-8 hours
Step 6: Initial Inspection
- Check for bubbles or loose areas immediately
- Mark problem areas with masking tape
- Address issues before adhesive fully cures
- Use iron and damp cloth for minor bubbles
Trimming and Finishing
Proper trimming and finishing are essential for professional results:
Trimming Excess Veneer
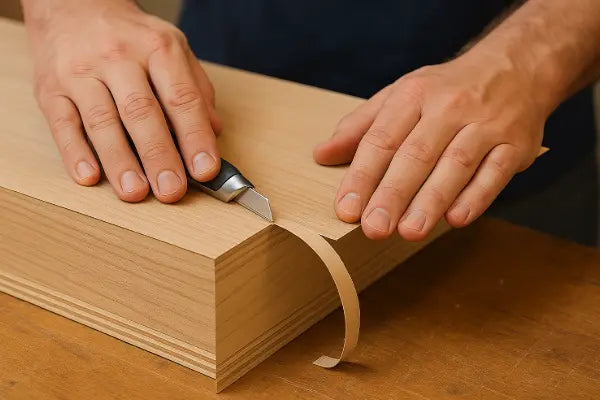
- Let adhesive cure according to manufacturer specs
- Score veneer at exact edge with sharp knife
- Use router with flush trim bit for cleanest edge
- Alternative: Score and snap method for straight edges
- Sand edges smooth with 220-grit sandpaper
Edge Treatment Options
- Matching edge banding: Creates seamless appearance
- Solid wood edge: Provides durability and contrast
- Self-edge: Wrap veneer around edge (radius required)
- Leave natural: Sand smooth and finish to match
Applying Finish
- Light sanding with 320-grit (veneer is thin!)
- Remove all dust with tack cloth
- Apply pre-stain conditioner if staining
- Use thin coats of your chosen finish
- Sand lightly between coats with 400-grit
- Apply 3-4 coats for optimal protection
Recommended Finishes
- Polyurethane: Durable, water-resistant
- Lacquer: Professional spray finish
- Shellac: Traditional, repairable
- Oil-based: Enhances grain, easy application
Common Mistakes to Avoid
Learn from others' errors to ensure success:
1. Poor Surface Preparation
- Problem: Bumps and imperfections show through
- Solution: Spend extra time on substrate prep
2. Wrong Adhesive Choice
- Problem: Veneer delaminates or bubbles
- Solution: Match adhesive to veneer type and application (PSA-backed veneers like our peel-and-stick collection eliminate adhesive guesswork)
3. Inadequate Pressure
- Problem: Poor adhesion, bubbles form later
- Solution: Use proper tools and sufficient pressure
4. Rushing the Process
- Problem: Misalignment, adhesive issues
- Solution: Work methodically, allow proper drying time
5. Ignoring Wood Movement
- Problem: Cracking or buckling over time
- Solution: Use stable substrates, seal all surfaces
6. Over-sanding
- Problem: Sanding through thin veneer
- Solution: Use light pressure, higher grits only
Troubleshooting Guide
When problems arise, here's how to fix them:
Bubbles After Installation
Small bubbles (under 1"):
- Place damp cloth over bubble
- Apply hot iron for 10-15 seconds
- Press firmly while cooling
- Repeat if necessary
Large bubbles:
- Slit bubble with sharp knife along grain
- Inject glue with syringe
- Press flat and wipe excess
- Clamp or weight overnight
Loose Edges
- Carefully lift loose area
- Clean out old adhesive
- Apply fresh PVA glue
- Clamp with caul blocks
- Wipe away squeeze-out
Veneer Cracking
Prevention is key:
- Maintain proper humidity (35-55%)
- Seal all surfaces evenly
- Use flexible adhesives
- Avoid direct heat sources
Color Matching Issues
- Test stains on veneer scraps first
- Use toner or glaze for color adjustment
- Consider prestained veneer for consistency
- Professional color matching available
Maintenance After Installation
Protect your investment with proper care:
Daily Care
- Dust with soft, dry cloth
- Wipe spills immediately
- Use coasters and protective pads
- Avoid harsh chemicals
Periodic Maintenance
- Clean with mild wood cleaner monthly
- Reapply paste wax every 6-12 months
- Inspect for damage quarterly
- Touch up finish as needed
Long-term Protection
- Maintain consistent humidity levels
- Protect from direct sunlight
- Rotate decorative items
- Professional refinishing every 10-15 years
For detailed maintenance tips, see our guide on how to clean and maintain wood veneer.
When to Hire a Professional
Consider professional installation for:
Complex Projects
- Curved or radius work
- Book-matched or sequence-matched panels (available in our 4x8 wood veneer sheets)
- Commercial installations
- Historical restorations
High-Value Materials
- Exotic wood veneer species
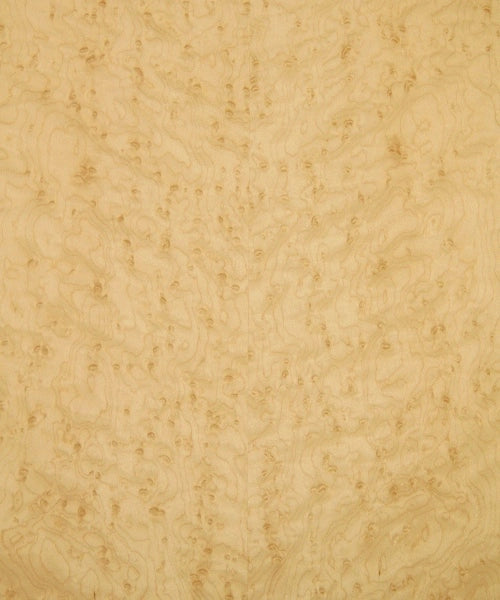
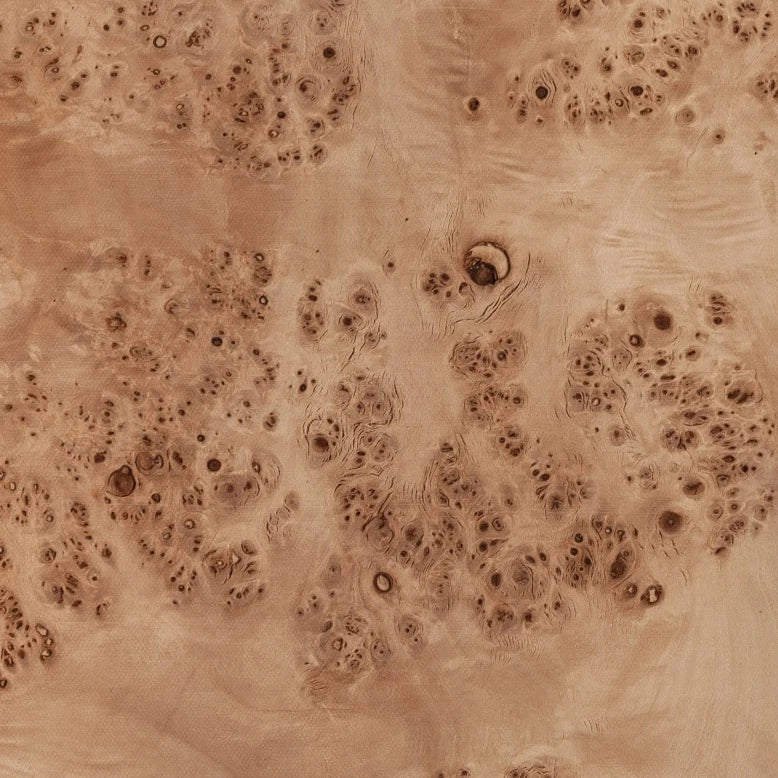
- Burl or highly figured veneers
- Antique or reclaimed veneers
- Large seamless panels
Time Constraints
- Tight project deadlines
- Multiple room installations
- Limited experience with adhesives
- No access to professional tools
Cost Considerations
Professional installation typically costs:
- Basic installation: $3-5 per square foot
- Complex patterns: $5-10 per square foot
- Specialty work: $10-20+ per square foot
- Minimum charges: Usually $500-1000
Conclusion
Installing wood veneer successfully requires patience, proper preparation, and attention to detail. Whether you're refacing kitchen cabinets, creating custom furniture, or adding elegance to your walls, following these guidelines will help ensure professional results.
Remember that different veneer backing types require different approaches, and choosing the right adhesive is crucial for long-lasting results. Take time to properly prepare your surfaces, work in appropriate conditions, and don't rush the process.
Ready to Start Your Veneer Project?
LEDGEBAND offers a complete selection of wood veneers in various species and backing types to suit any project. From convenient PSA-backed veneers for DIY projects to professional-grade wood veneer sheets, we have the materials you need.
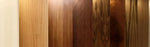
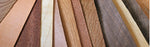
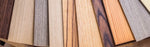
Browse our popular wood veneer species:
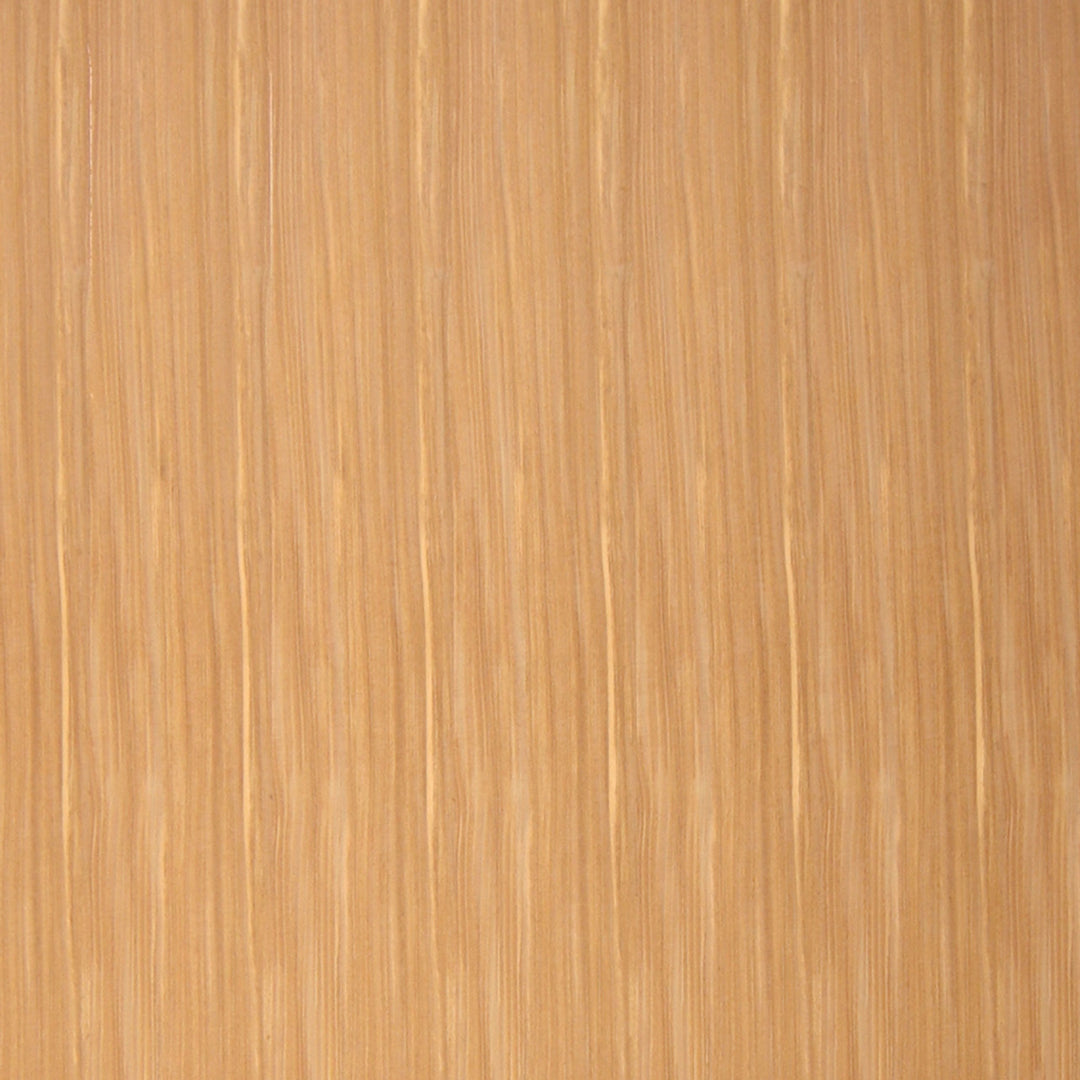
- Oak veneer - Classic grain patterns for traditional and modern projects
- Walnut veneer - Rich, dark tones for luxury applications
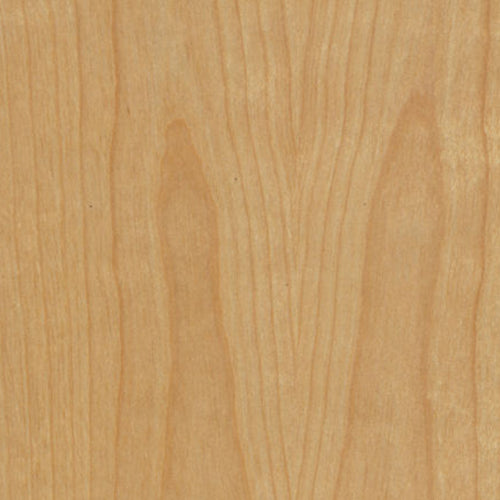
- Maple veneer - Light, consistent grain perfect for contemporary designs
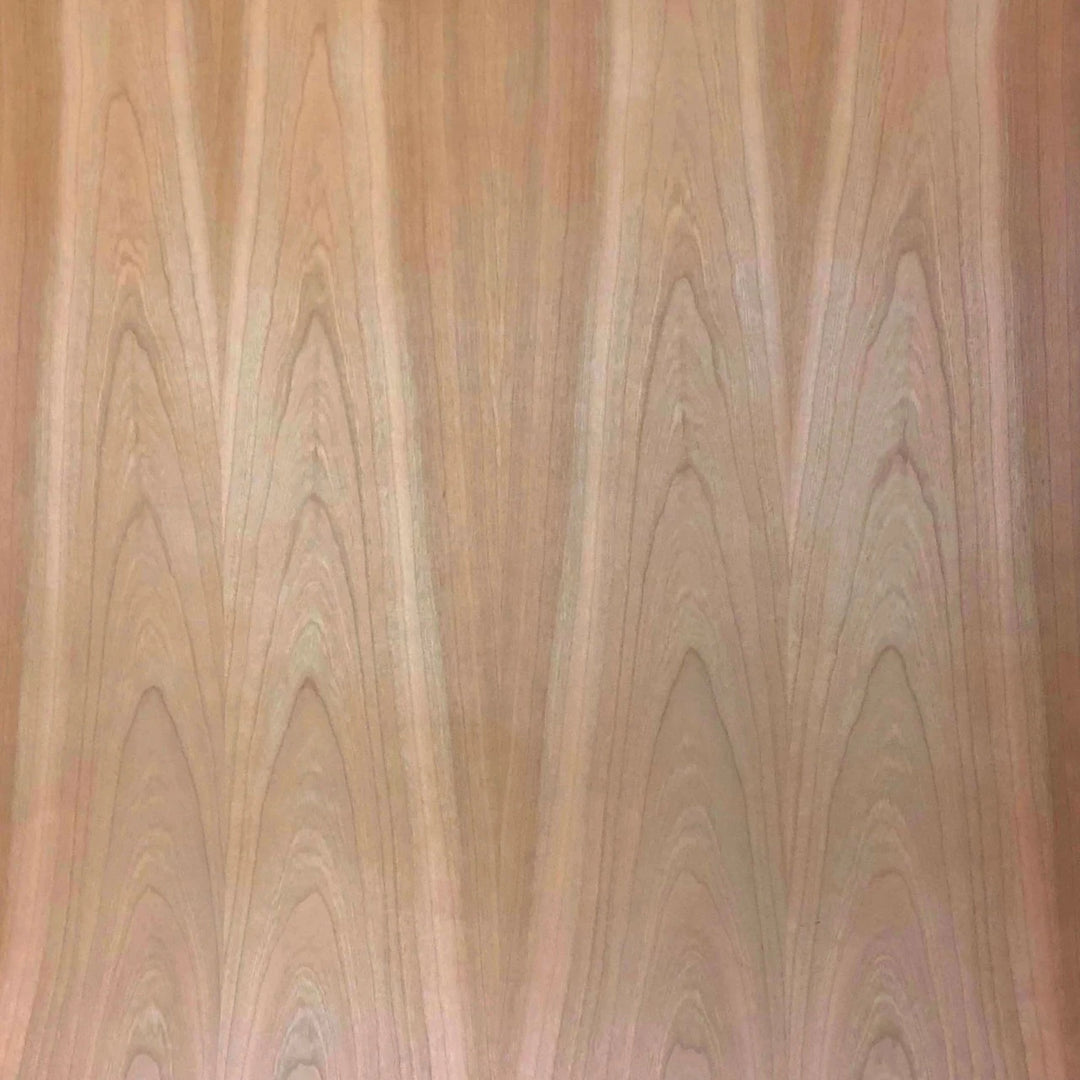
- Cherry veneer - Warm tones that deepen with age
- Mahogany veneer - Sophisticated grain for high-end projects
Why choose LEDGEBAND:
- Over 50 species in stock
- Multiple backing options including 4x8 sheets
- Matching edge banding for seamless edges
- Fast shipping on all orders
- Expert technical support
- Competitive bulk pricing
Questions about your specific installation? Our technical team is here to help. Contact us or call 754-367-6838.